What a job! This was, by far, the biggest job we have ever undertaken with over 100 hours of work put into it. The results, we’re sure you’ll agree, speak for themselves, and were well worth the effort.
Joe originally brought this car to us for a full paint correction and application of Kamikaze coatings. Kamikaze is a relative newcomer in the Australian market, but has been making waves in Japan for years, using the latest technology SiO2 chemistry to produce a low VOC and solvent free formula that allows the user to ‘tune’ the appearance of the coating to their tastes. Here, we decided to layer Kamikaze ISM with Kamikaze Miyabi, giving a darkening effect on the paint, along with a super deep, brilliant shine, with a candy, almost polarising type effect.
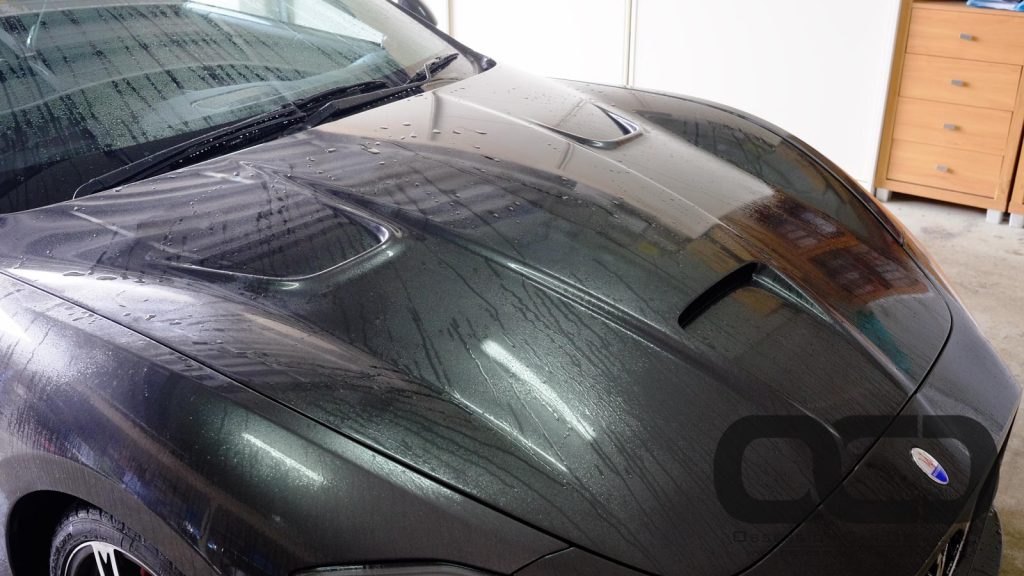
But thats not the most exciting aspect of this job. We wet sanded the entire car, to remove and flatten the orange peel and texture in the paint, to give a true mirror finish. Funnily, enough that was not part of the plan – it all started with the bonnet! When the car first came in, we first noticed how bad the bonnet looked. Being carbon fibre, it was painted on a separate assembly line, and quite frankly, looked like it had been painted with a cheap can. We offered to sand the bonnet, and being so impressed with the results, he asked us to sand the whole car!
Check out the entire gallery here, and enjoy the writeup below.
We started with a thorough clean and decontamination of the entire car:
The bonnet was sanded first:
The results were excellent. You can clearly see the removal of texture and increase and clarity:
Some sanding marks remain, which would later be cleaned up:
The paint was carefully measured. Fortunately, the paint on this car was super thick, making it safe to sand:
And now the fun begins! It looks scary, but experience, skill, and precision mean that we can safely achieve excellent results. Do not try this at home!
Check out that increase in clarity! The peel is all but gone!
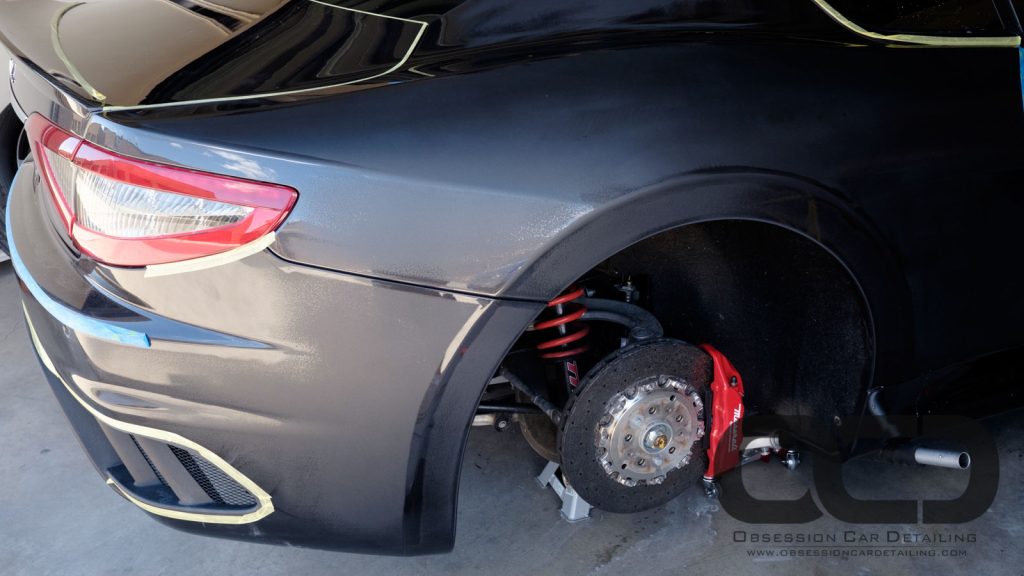
The car was washed several time throughout the process to get rid of paint and sanding residue, and as placed on stands to make it easier to work on:
This also allowed us to pull the wheels off and thoroughly clean and decontaminate them:
After three stages of sanding and three stages of polishing you get something like this:
Taping up body lines is vital, to ensure no damage:
Does not look pretty at all! But it will, I promise:
Here you can see how the texture gets gradually flattened. Note how when sanding, the peaks of the texture are affected first, giving the pattern you see below:
The boot was held open whilst it was sanded and polished:
This is a reflection, perfectly flat:
And we didn’t forget the small areas either:
Which were lovingly sanded by hand:
Carbon fibre was carefully polished:
And the entire car was polished once more with a super fine finishing compound:
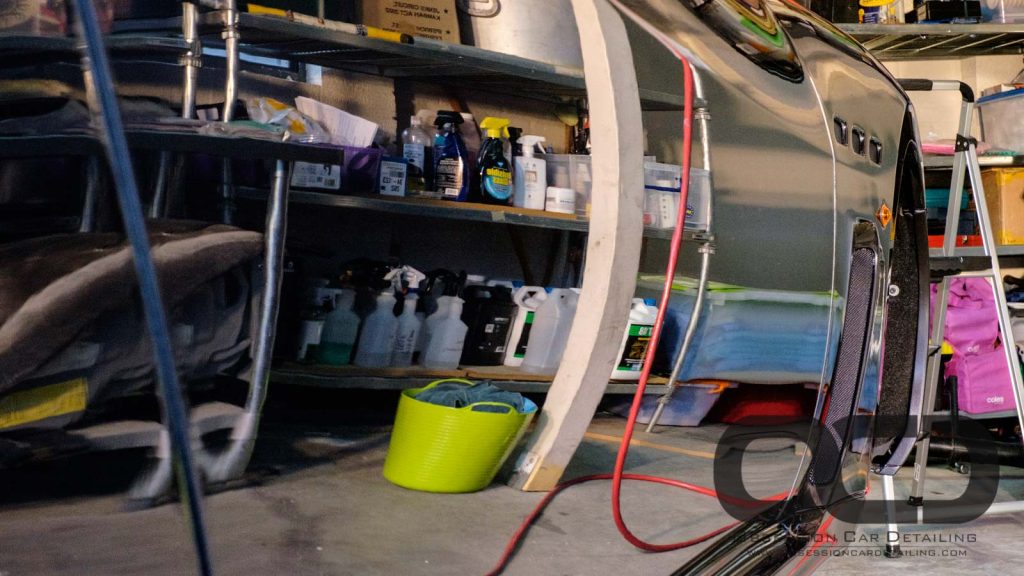
Sanding produces a lot of mess. Working clean is very important. Here you can see one side which has been polished, the other yet to be:
Here you can see the paint after various steps, including sanding, compounding, and polishing:
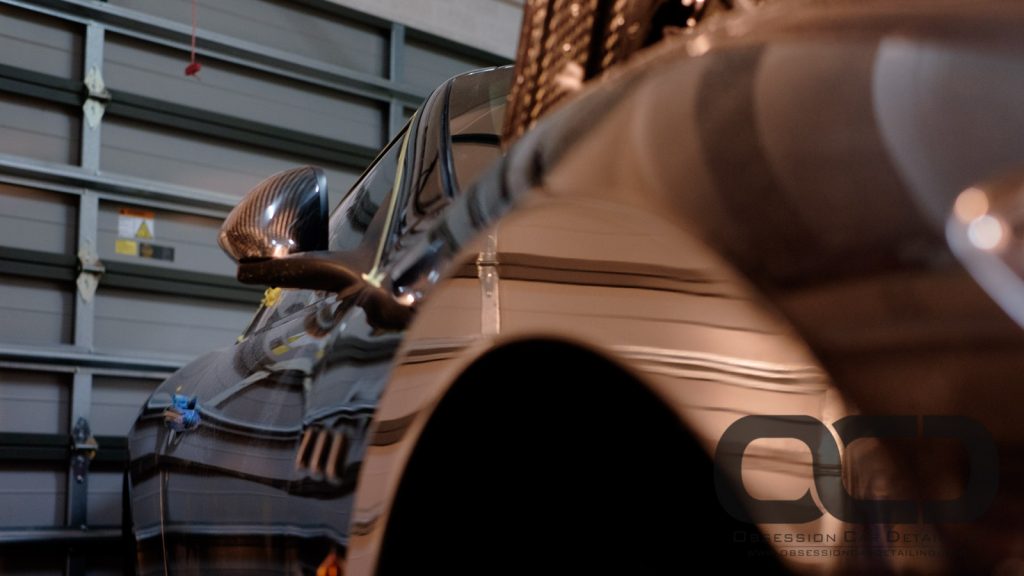
Look at the straight lines in the wheel arch, and note how straight they are:
More washing:
50/50 on the bonnet:
And time to call it a night!
Stay tuned for part 2!
www.obsessioncardetailing.
info@obsessioncardetailing
instagram – obsessioncardetailing
#obsessioncardetailing


